Sunset at the Beach

Before Edits 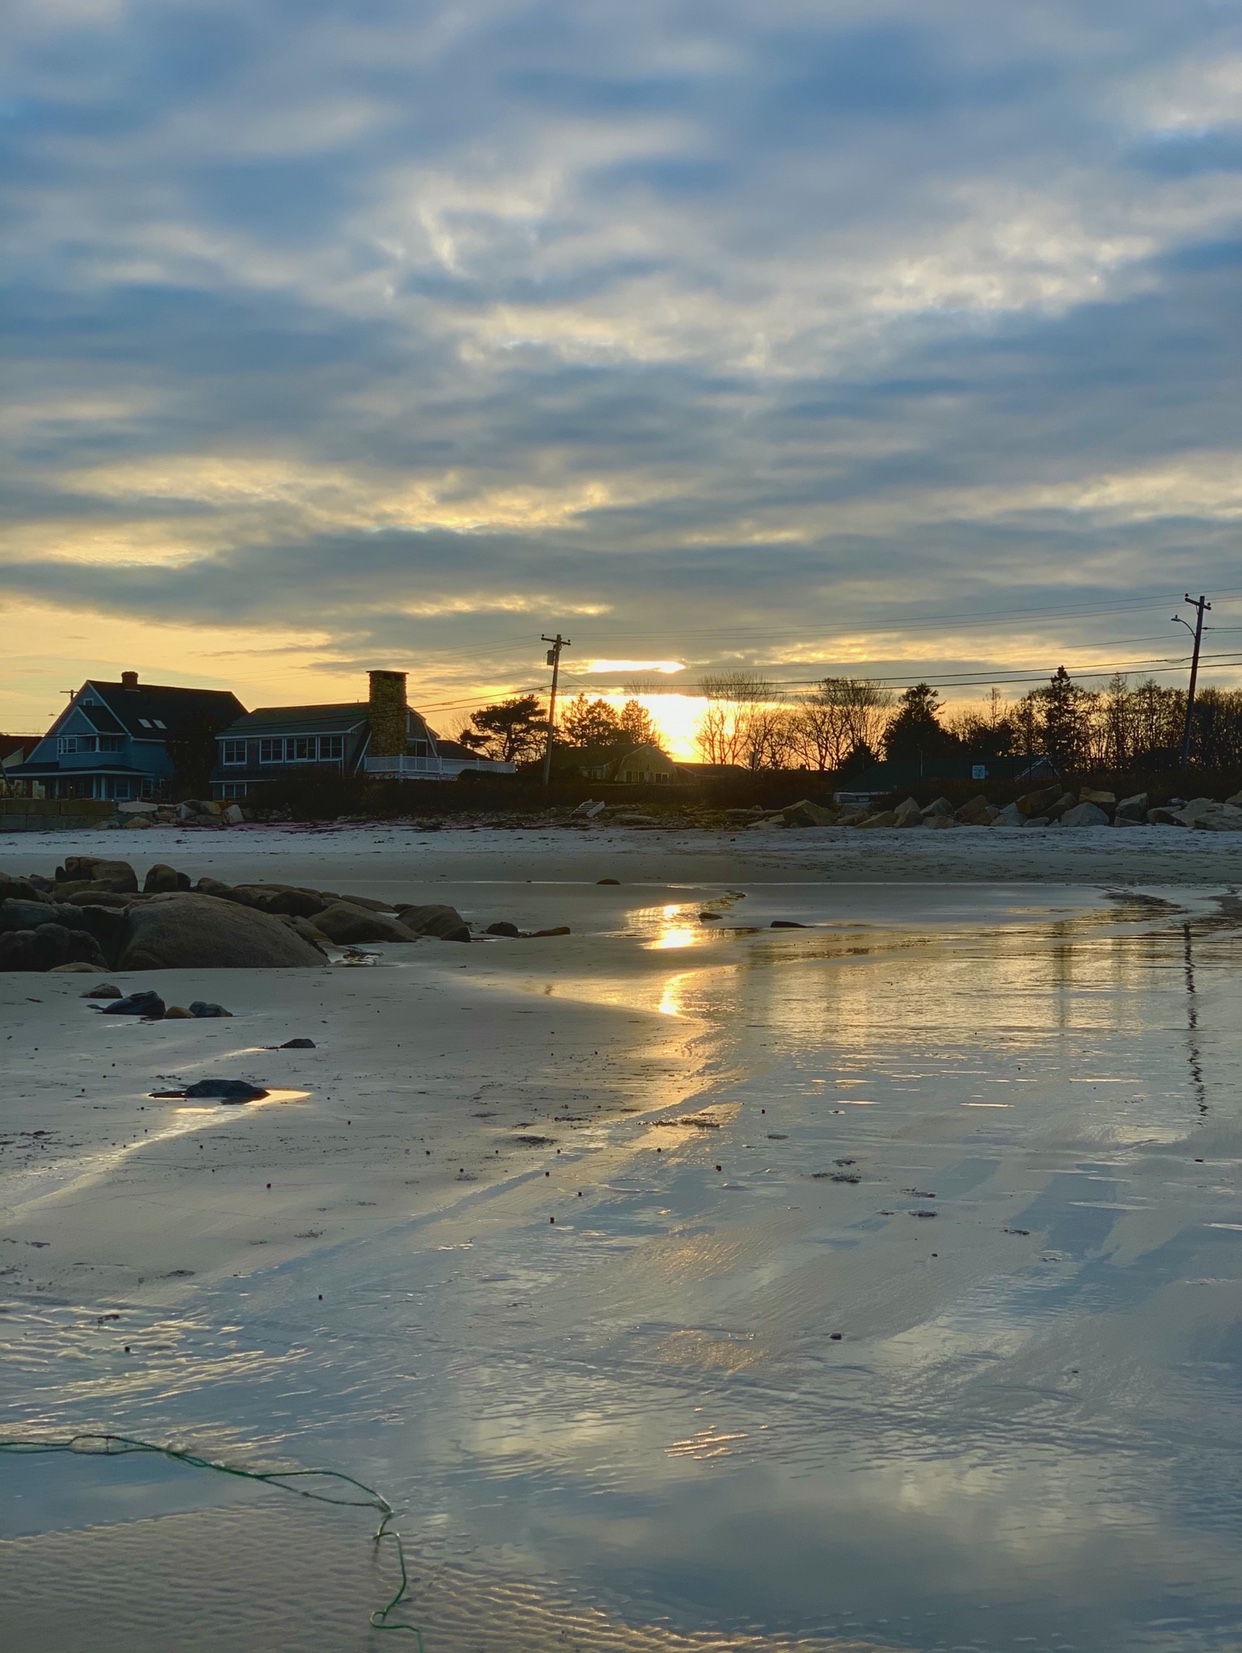
Adjustments added 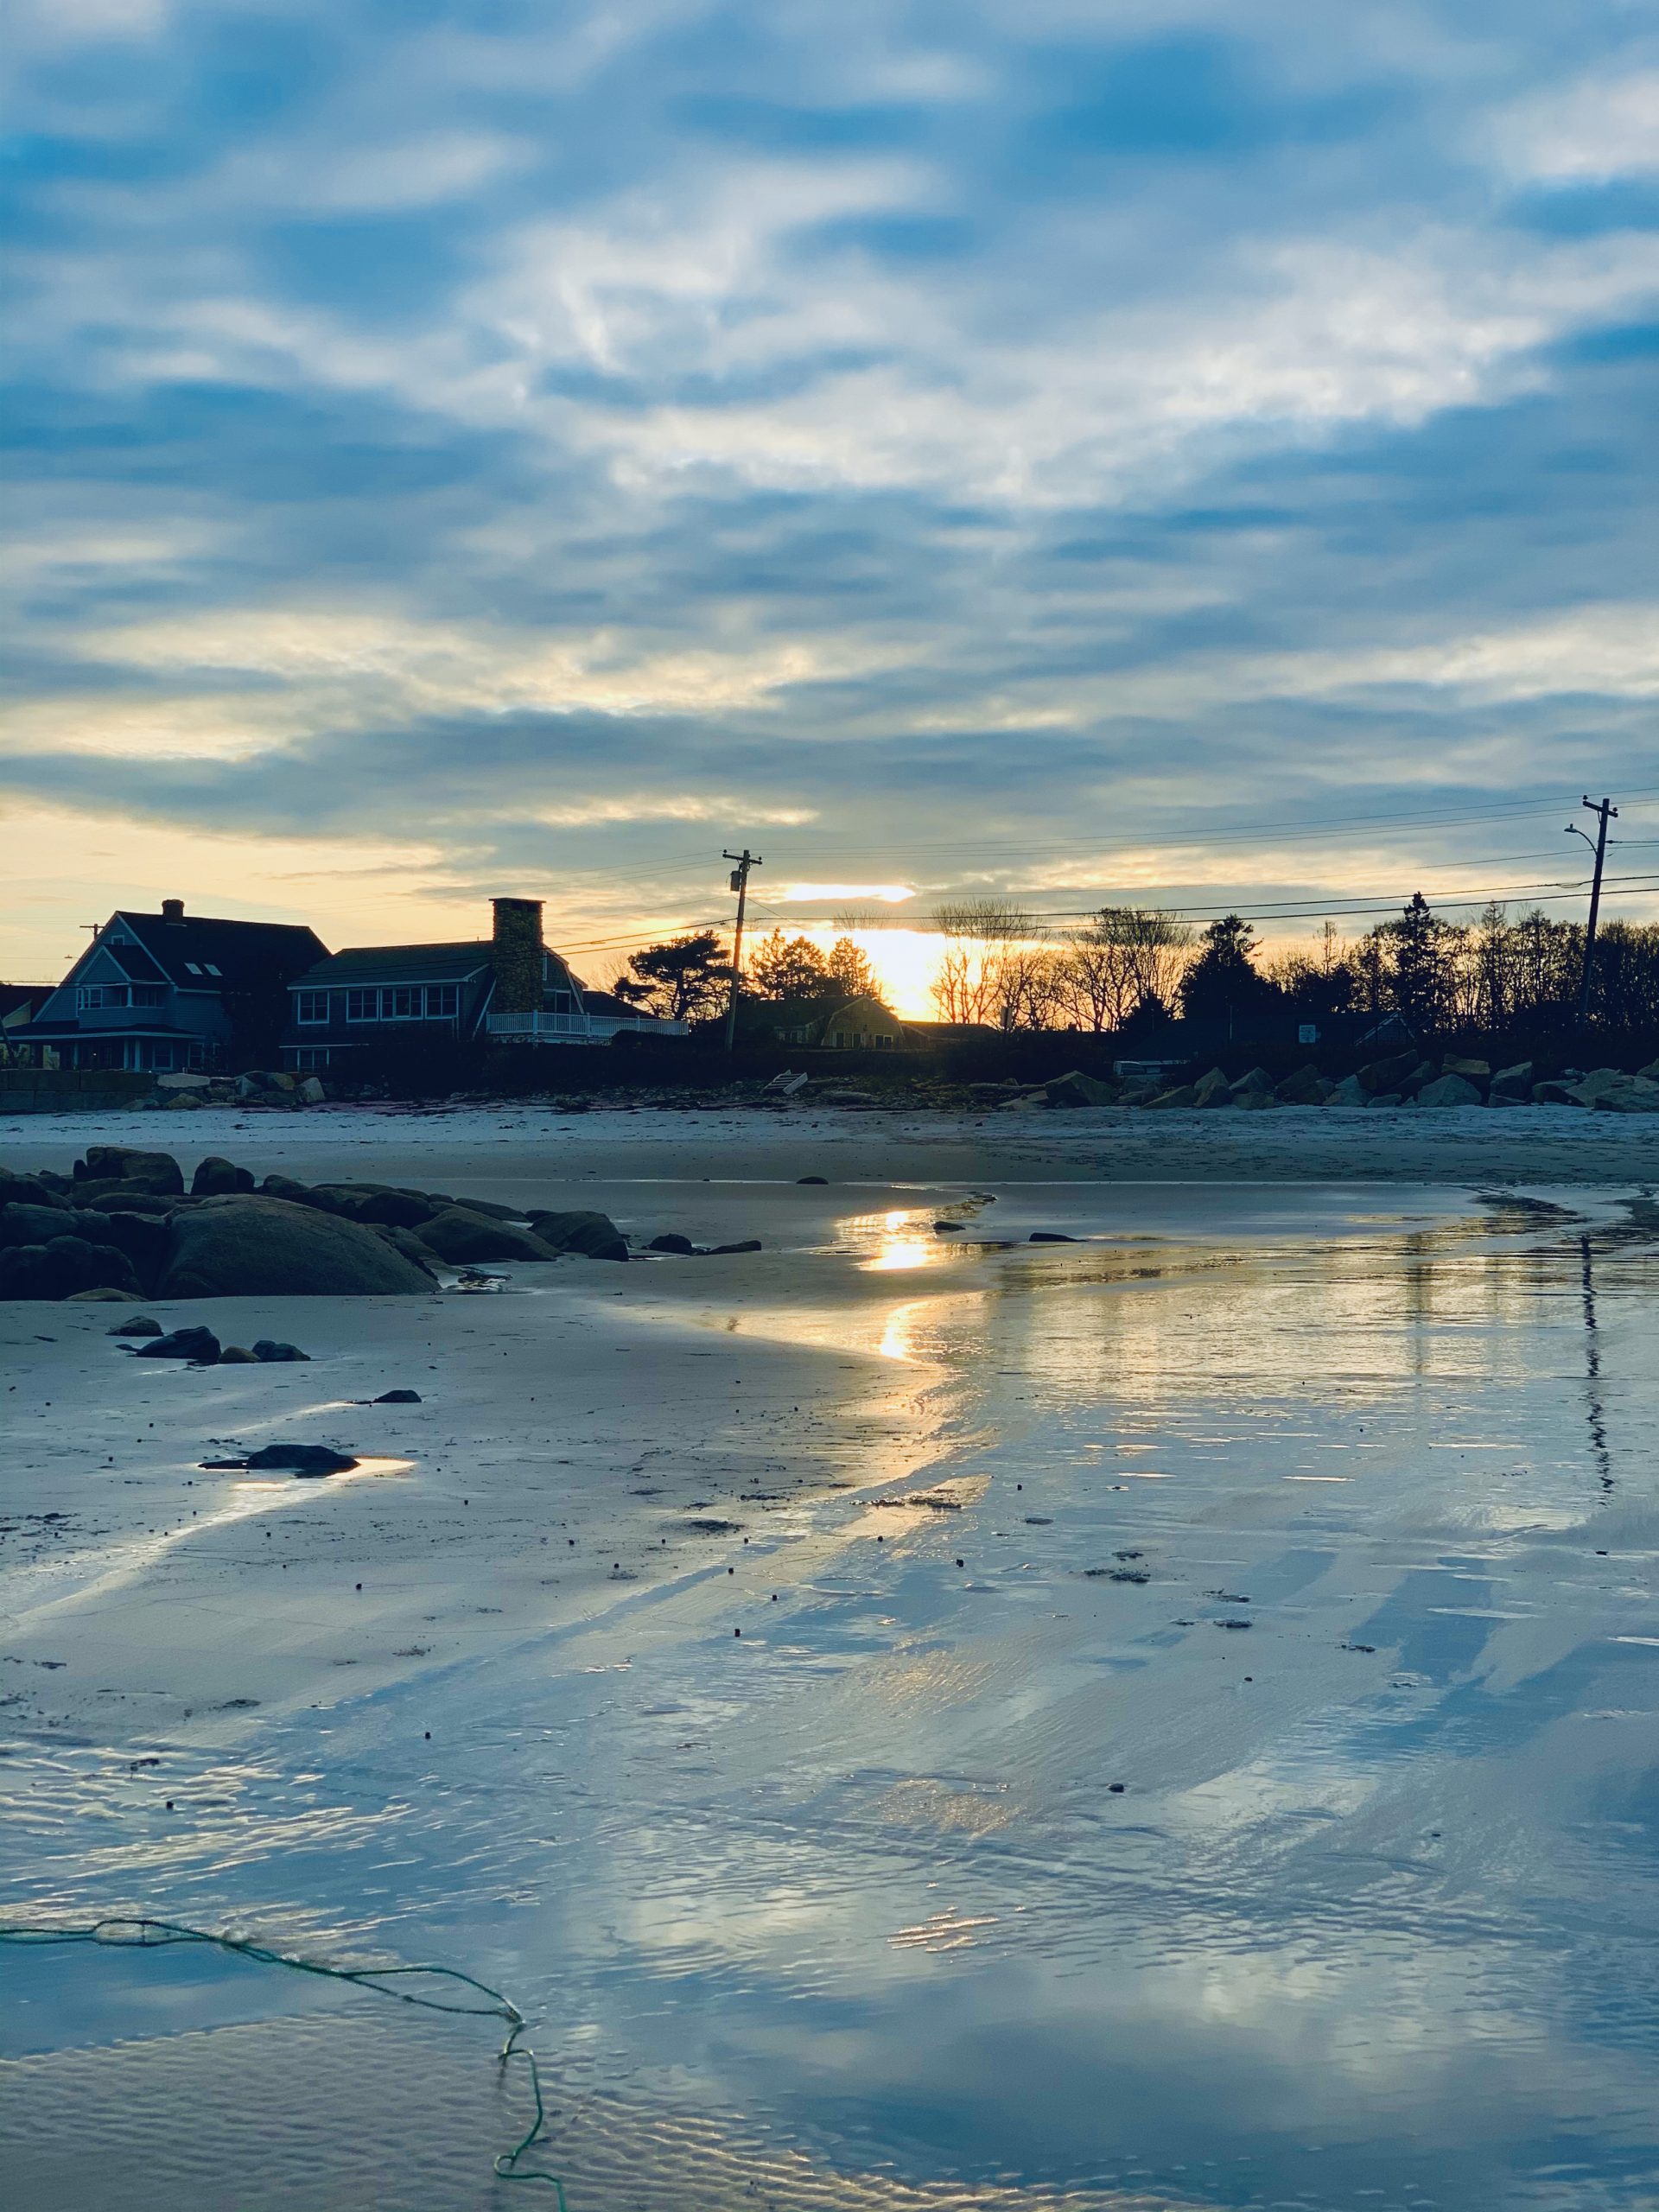
Filter added 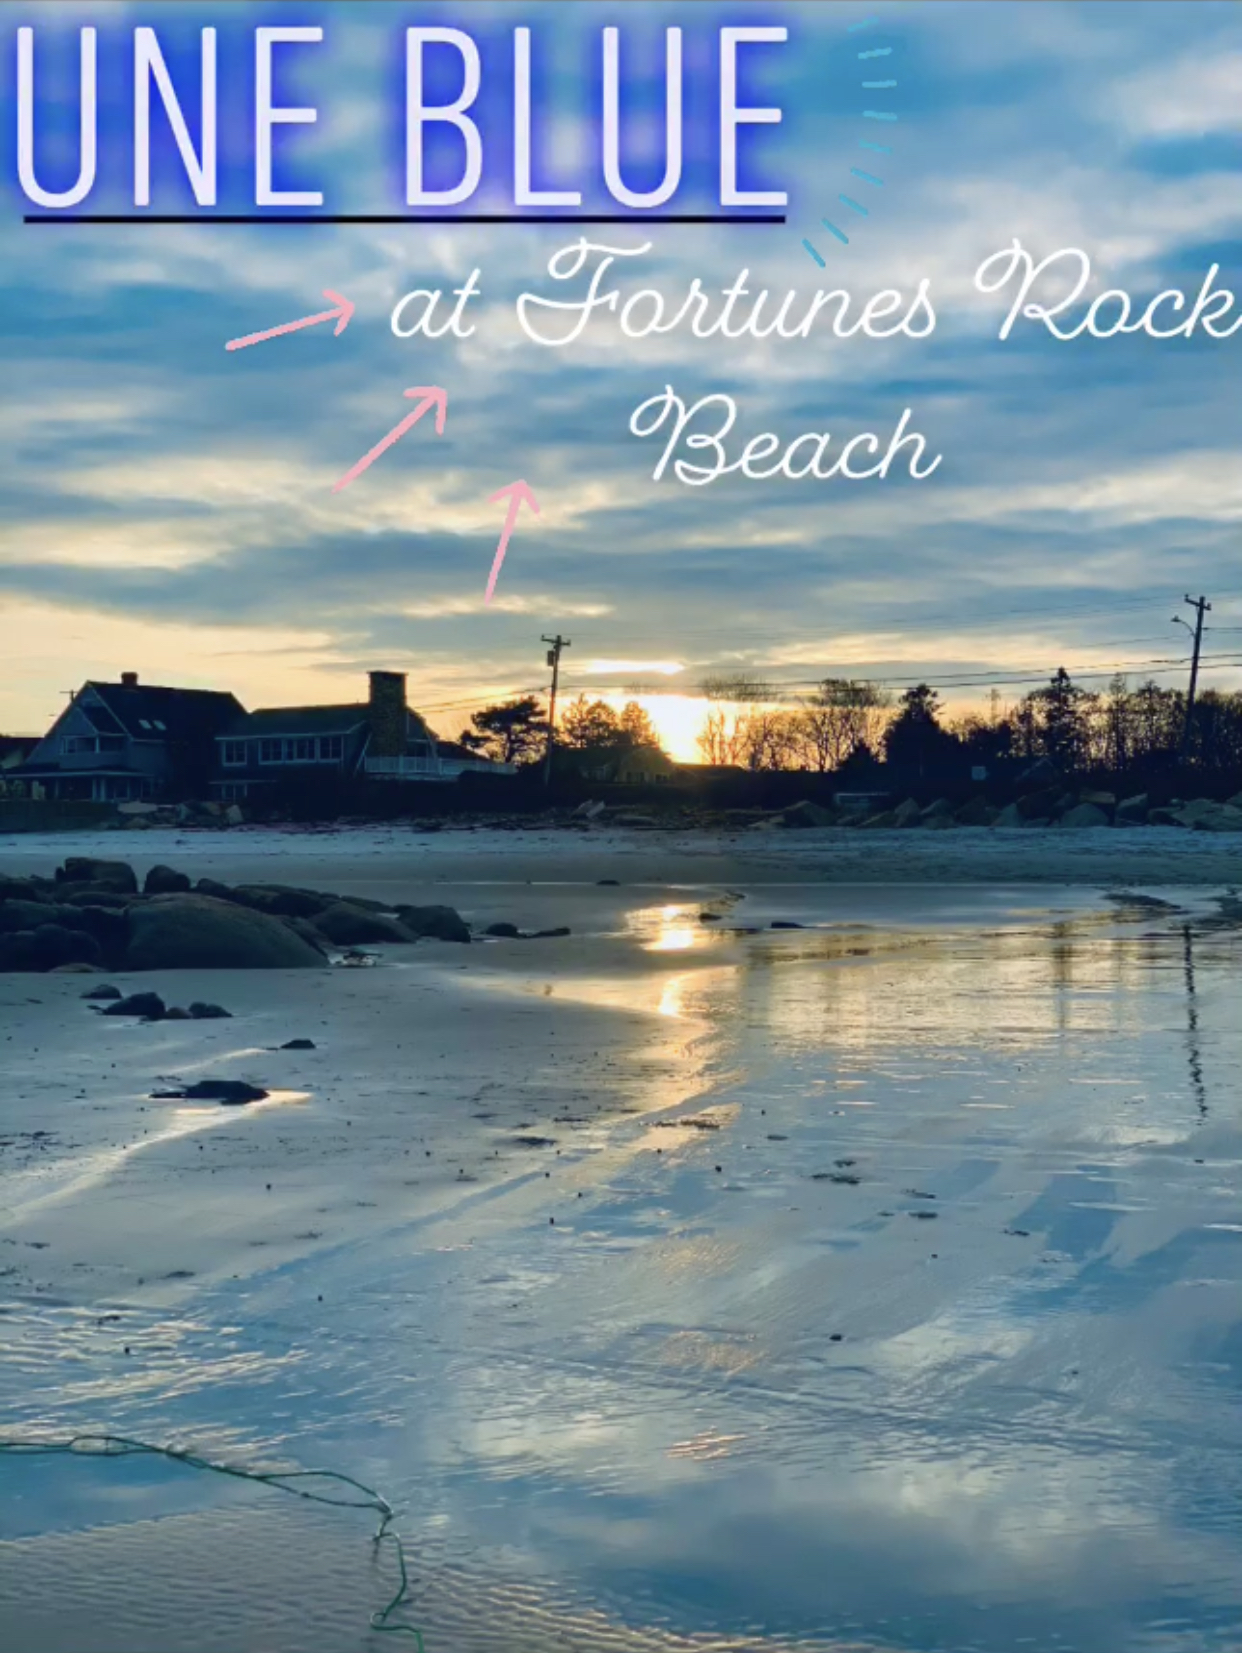
Final Image
For my first project, I decided to edit an image. I felt that by doing this it would be an easy flow into what to expect for the rest of my projects. Since I had to go to Fortunes Rock Beach to shoot a video, A Day with Bella, it was a perfect opportunity to take advantage of the sunset and take a photo of it. As a personal project, I think that the overall image looks very nice. The reasoning behind doing this wasn’t to just give me a good start, but, to also have a nice photo for fortunes beach able to be used.
A simple task like this would be fun and easy for me since I generally do editing for my Instagram posts.
Editing this photo was done all on my phone, I Phone XS max. Which helped because I had such a large screen. The adjustments that were done were: exposure drop to -8, a brilliance of 18, increase highlights to 20, and minimal raises ( >5) on Shadows, Contrast, Brightness, Blackpoint, Saturation, Vibrance, Warmth, Tint, and Sharpness. The filter that was applied after these adjustments is called “Vivid Cool” which creates the blue hue over the image.
To finish the image off, I saved it and brought it over to Snapchat for the effects. The effects added were the Neon lettered ” UNE BLUE” and a Script of ” At Fortunes Rock Beach”. To make it more visually appealing I added a bold black line under UNE BLUE, added the three pink arrow PNG, and the crescent blue dashes PNG.
Reflection
The reason I chose to do these fonts was to have something large enough to see it but, also bright enough to go against the color of the clouds. The same thing goes for the Script text. I wanted a font that was different from the Neon where it also “classes” up fortunes beach. The area itself is well known for the wealthy so classy fits right in. In regards to the PNG’s, I thought they were cute and were able to contrast and make the overall picture look appealing. I wanted to feel as though the beach is inviting you to go there.
If I were to do another project like this, I think that going in a similar direction would be easiest. Since I generally did most of the work on my phone it is easy to stop and save my steps in a more timely manner. If I could I would have gone back with a more depth precision camera that way I could get all of the minor details that I saw with my own eyes that a camera can not detect.
To give this project a final meaning, I would be using it in a post for my Instagram. I have yet to make a reoccurring post for my school Instagram, which would be a great choice. I can then write a small caption with this information above summed up. Since it is going on my Instagram it is driven toward my school followers audience. Meaning that whoever follows me can see this post and can enjoy it as they so choose. I will also be adding the location to it so anyone who wants to look at any UNE photos mine will be added.
A few tech specs about this photo:
- Shot at 3:48 pm , November 10th 2019
- Portrait mode
- Dual 12 Megapixel camera
- ƒ/ 5.0 aperture